I needn't have worried - I loved it! The pace was just right for me with plenty of time to practise, and I now feel much more confident at using different colourwork techniques. The class was small and friendly with easy to follow handouts. Susanna was very clear with her demonstrations and helpful when we were doing individual practice.
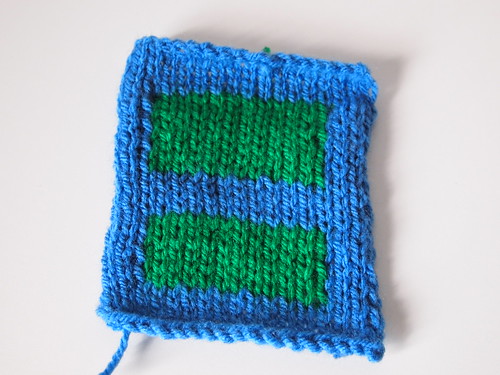
We began with intarsia by making two swatches. The first is an intarsia rectangle block which was to get us used to working with the two colours. Here is mine:
The second swatch was meant to be an argyle design but I only finished one diamond:
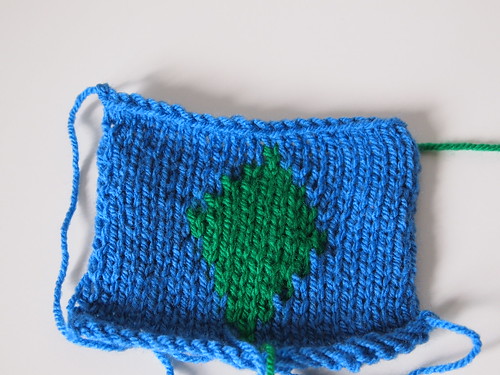
I was really pleased with how these both came out. I have tried intarsia previously, but my stitches always looked sloppy at the joins between the two colours. I have now learned that this was to do with how you wrap the yarns around each other (or when to wrap and when not to), particularly when the design is slanted like the diamond above.
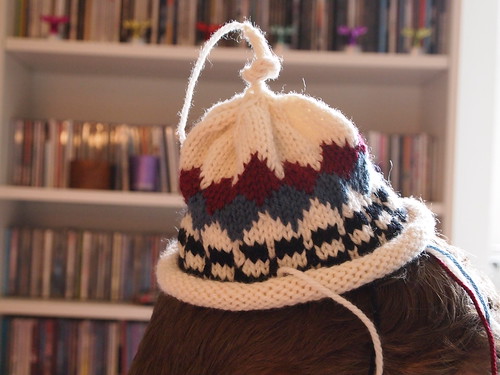
Next up was the stranded knitting section. Again, I have tried this technique before. I made Eunny Jang's Endpaper Mitts and these came out really well. However, when I tried Ysolda Teague's Cotton Reel Mittens a couple of years later, the tension was really off and even after blocking, they were wrinkly. I could not work out how I had gone so wrong. It turns out that I need to keep my tension really loose and resist that temptation to pull my floats tight. For our swatch this time, I chose to make a baby hat (as opposed to a tube/beer cozy). I finished it on the Sunday morning after Knit Nation. If you look closely you can see that the tension evens out towards the top as I realised I just needed to loosen up! I am really pleased though that this looks so neat and it hasn't even been blocked.
Please excuse all the undarned ends. And the head. My darling bf decided he wanted to try it on.
As well as learning the importance of tension in stranded knitting, we also learned about colour dominance, which I had never heard of before. The colour which dominates is connected with which yarn is floated under or over at the back and hence which hand it is held in (if you knit with both hands as I do). For most knitters, the colour in the left hand is floated under and will be dominant, whereas the colour in the right hand is floated over and will be...non-dominant (or submissive?). This occurs because the stitches in the over colour are slightly larger and so appear dominant over the other. Very interesting.
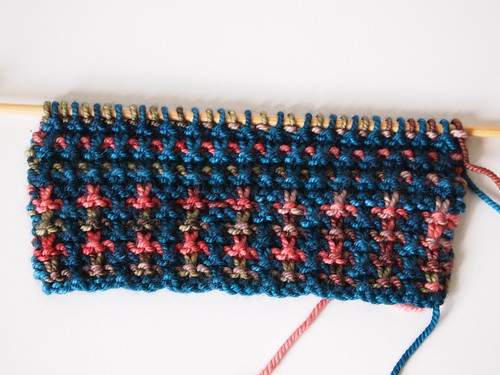
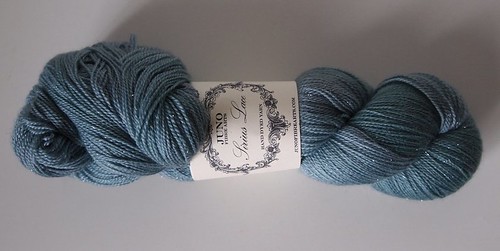
The last part of the class looked at slip stitch knitting, which I had never tried before. Susanna also brought some lovely yarn for us to try. It is an American hand-dyed yarn from a company called Prism. We experimented with using a semi-solid with a contrasting variegated yarn. Slip stitch knitting produces a nice thick textured fabric; I could really see using this for a warm pair of mittens (since I don't really do socks). Here is my swatch:
There are two different stitch patterns here; I was too lazy to bind off the first one! Slip stitch knitting works by knitting with just one colour at a time, slipping the stitches of the other colour. It is perhaps an easier technique than the first two, but the constant slipping means it is more difficult to get into a good rhythm.
So all in all, a very successful class for me. I can't wait to try some colourwork projects now!
